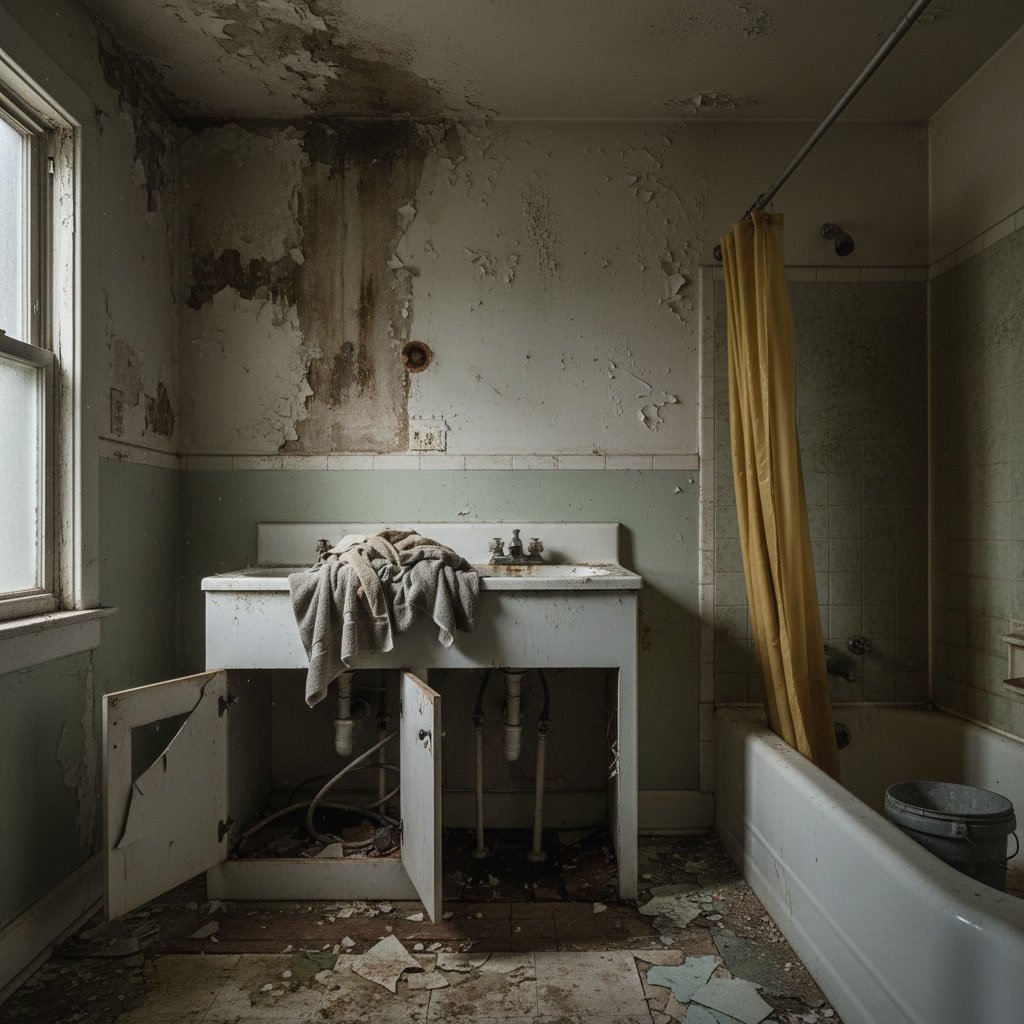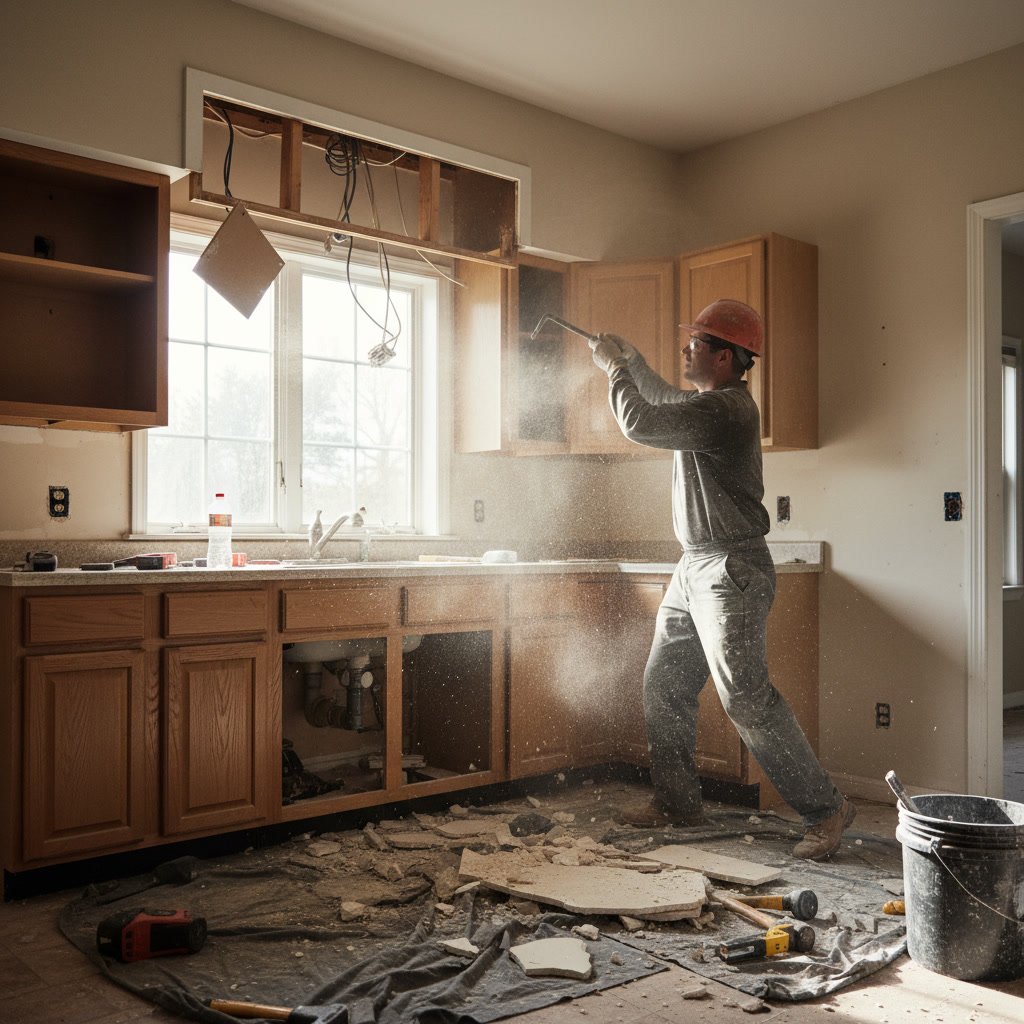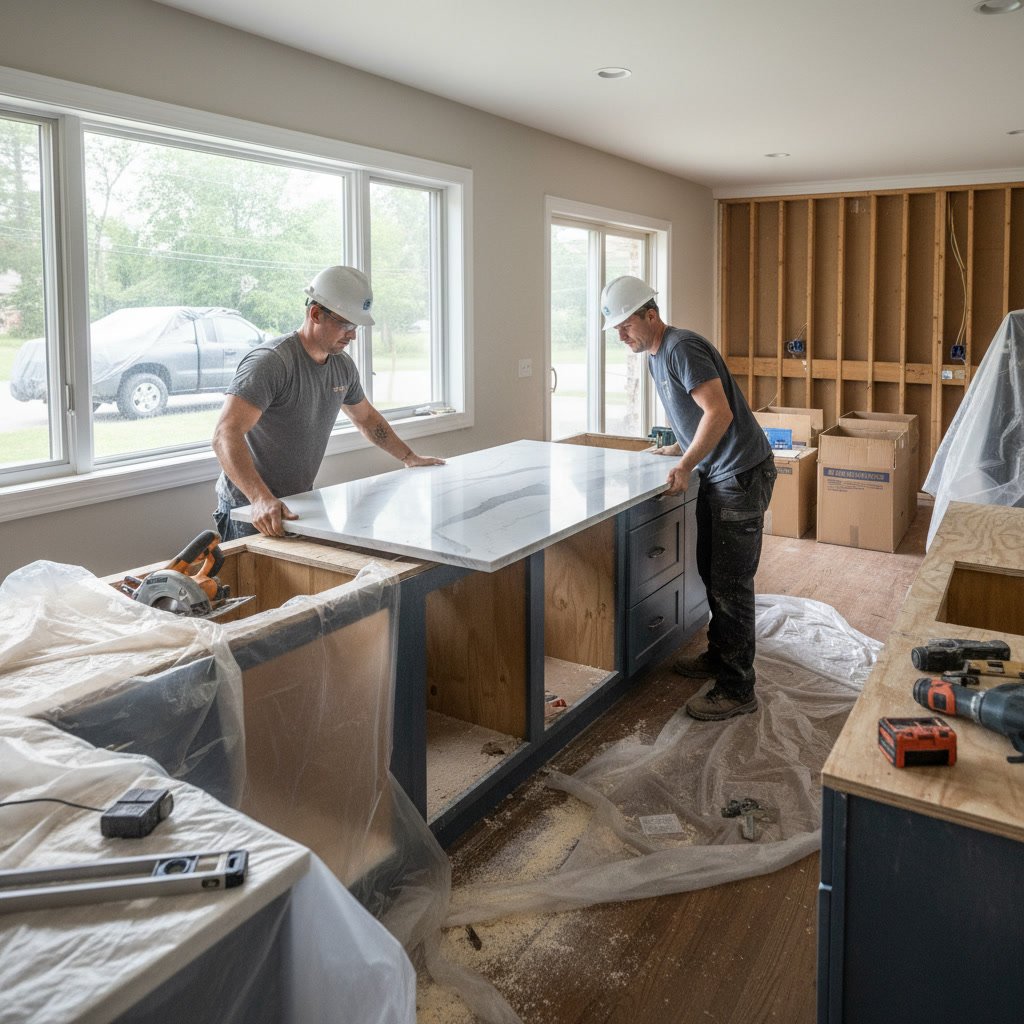
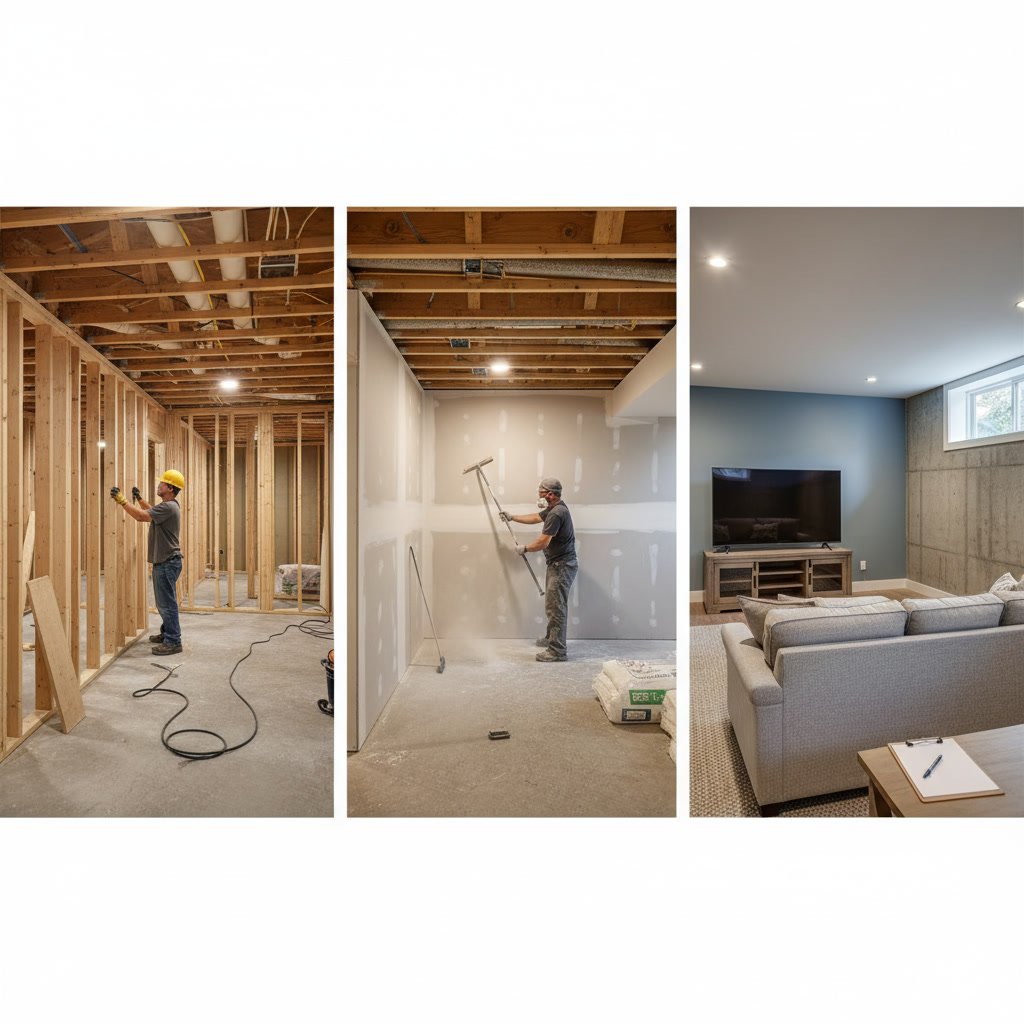
Basement finishing transforms unused space into livable square footage through a detailed, multi-phase construction process. From initial framing and rough plumbing to drywall, trim, and final inspection, each step builds toward a finished room that meets building codes and your family’s needs. Understanding how basement finishing works helps you plan the project timeline, budget accurately, and know what to expect as contractors move through your home.
Most unfinished basements start as concrete walls, exposed joists, and utility lines running along the ceiling. The process of turning that raw space into a bedroom, home office, or entertainment area involves structural framing, mechanical rough-ins, insulation, drywall installation, finish carpentry, and multiple rounds of inspections. Each phase has specific requirements that affect both the schedule and the final result.
Why Homeowners Finish Their Basements
Finishing a basement adds usable living space without the cost or complexity of building an addition. Families with growing kids need extra bedrooms or play areas. Remote workers want dedicated office space away from the main floor. Others simply want a recreation room, home theater, or guest suite that makes better use of existing square footage.
The return on investment for basement finishing and remodeling projects typically ranges from 70 to 75 percent in the Denver metro area, making it one of the more cost-effective ways to increase home value. Finished basements also improve marketability when you sell, since buyers count those rooms as part of the total living area.
Understanding Building Codes and Permit Requirements
Before any framing begins, you need a building permit from your local municipality. Code requirements vary slightly across Aurora, Lakewood, and other Denver suburbs, but all jurisdictions enforce minimum ceiling heights, egress window sizes, and electrical standards for habitable rooms.
Most codes require a minimum finished ceiling height of seven feet, measured from the floor to the lowest point on the ceiling. If ducts, beams, or plumbing lines hang below the joists, you may need to reroute them or build soffits. Bedrooms must have an egress window with a minimum opening of 5.7 square feet and a sill height no more than 44 inches above the floor, allowing safe exit during emergencies.
Electrical, plumbing, and framing inspections happen at specific stages. Your contractor schedules these visits as the work progresses, and the inspector must approve each phase before you can move to the next step.
Step One: Framing the Basement Layout
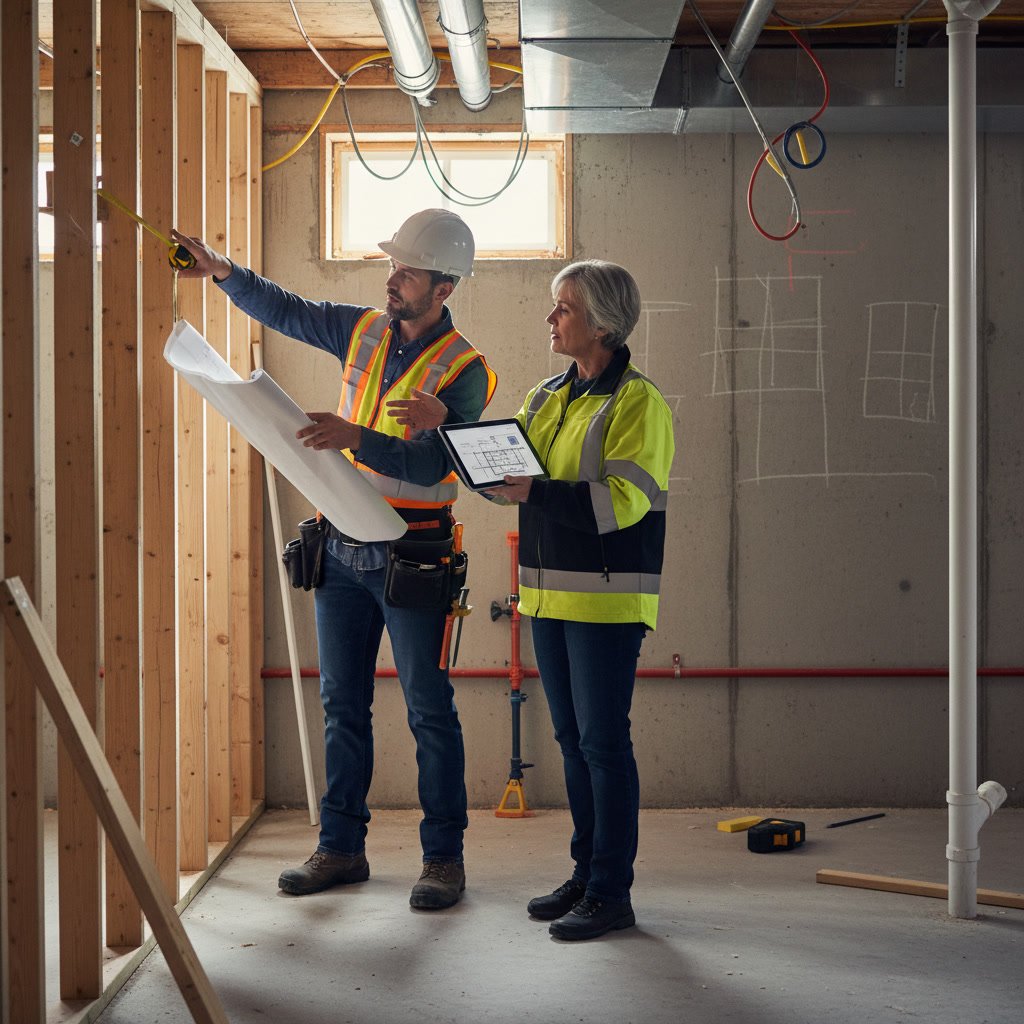
Framing creates the skeleton of your new rooms. Contractors use pressure-treated bottom plates on concrete floors to resist moisture, then build walls with standard two-by-four or two-by-six studs, depending on insulation requirements and local code.
Wall placement determines room size, closet locations, and door swings. Framers leave openings for doors, windows, and utility access panels. They also install blocking between studs wherever grab bars, heavy shelving, or wall-mounted fixtures will attach later.
Ceiling framing varies by design. Some basements leave joists exposed and paint them, while others install drop ceilings or drywall directly to the underside of the joists. If you plan a bathroom remodeling project in the basement, framers build a wet wall with two-by-six studs to accommodate drain lines and vent stacks.
Step Two: Rough Plumbing and Electrical Work in Aurora Basements
Once framing passes inspection, plumbers and electricians run their rough-ins. Plumbers install drain lines, water supply pipes, and vent stacks for sinks, toilets, showers, and laundry hookups. If the basement floor sits below the main sewer line, they may install an ejector pump to lift wastewater up to the drain.
Electricians pull wire for outlets, switches, and overhead lights. Code requires GFCI outlets in bathrooms and near sinks, arc-fault breakers for bedroom circuits, and sufficient lighting in stairways. Many homeowners add extra outlets for entertainment systems, computers, and charging stations during this phase, since it costs little to run wire before drywall goes up.
HVAC contractors extend ductwork to heat and cool the new space. Proper sizing matters: adding 600 square feet of finished basement without upgrading your furnace can overwork the system and reduce efficiency. A load calculation determines whether your existing equipment can handle the additional square footage.
Insulation and Moisture Control Strategies
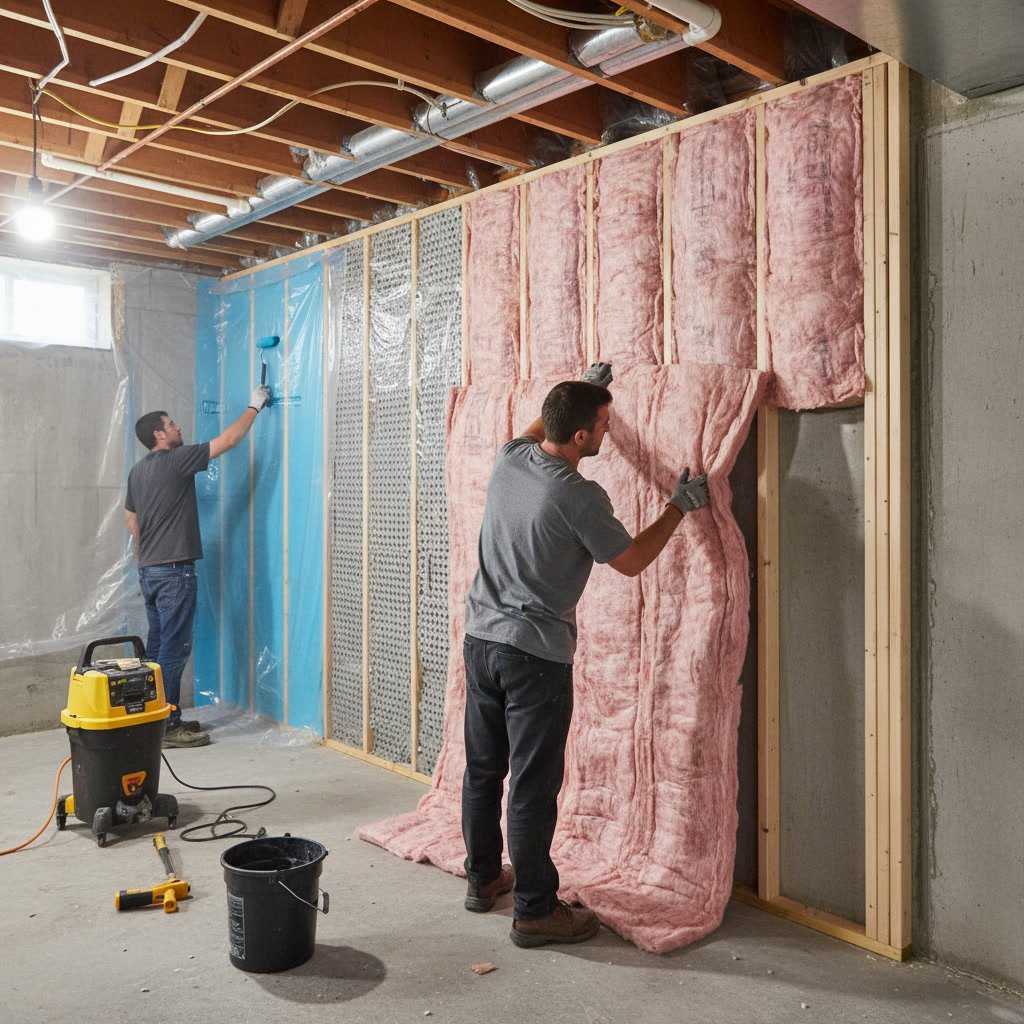
Basement insulation improves comfort and energy efficiency. Most contractors install rigid foam boards against concrete foundation walls, then frame interior walls in front of the foam. Foam provides both insulation and a vapor barrier, preventing moisture from migrating through the concrete.
Ceiling insulation between floor joists reduces sound transmission to the rooms above. Fiberglass batts or spray foam work well here, depending on budget and noise reduction goals. If you plan a home theater or music room, consider upgrading to higher R-value insulation or adding soundproofing materials.
Moisture control is critical in Colorado basements. Even dry climates experience occasional groundwater intrusion during heavy rain or snowmelt. Contractors check for active leaks, seal foundation cracks, and confirm that exterior grading slopes away from the house before closing walls. Interior drainage systems or sump pumps may be necessary if water problems exist.
Drywall Hanging, Taping, and Finishing
Drywall installation starts after all rough inspections pass. Installers screw half-inch panels to studs and joists, cutting precise openings for electrical boxes, windows, and access panels. They use moisture-resistant drywall (green board or purple board) in bathrooms and laundry areas.
Taping and mudding follow. The first coat of joint compound covers seams and screw heads. After it dries, tapers sand the surface smooth, apply a second coat, sand again, and finish with a final skim coat. This process typically takes three to five days, depending on drying conditions and the number of coats required for a smooth finish.
Texture application comes next if you prefer something other than smooth walls. Orange peel and knockdown textures are common in Colorado homes. Smooth walls cost more because they require additional sanding and precision taping.
Interior Painting and Trim Carpentry
Painting happens after drywall finishing. Contractors apply primer first, then two coats of paint on walls and ceilings. Choosing the right sheen matters: flat or eggshell finishes hide imperfections on walls, while satin or semi-gloss works better in bathrooms where moisture resistance is important.
Trim carpentry includes baseboards, door casings, window trim, and crown molding. Carpenters cut precise miters at corners, nail trim in place, fill nail holes, and caulk gaps. If you are adding custom cabinetry for a wet bar or storage, installers build and mount those units during this phase.
Door installation comes after trim. Contractors hang pre-hung doors in framed openings, adjust the swing, and install hardware. Closet doors, whether bypass sliders or bi-folds, go in at the same time.
Remodel Pros LLC coordinates these finish phases carefully to avoid delays or rework. Proper sequencing matters: paint before trim installation prevents drips on finished wood, and interior painting touch-ups happen after all carpentry is complete.
Flooring Installation Options and Timing
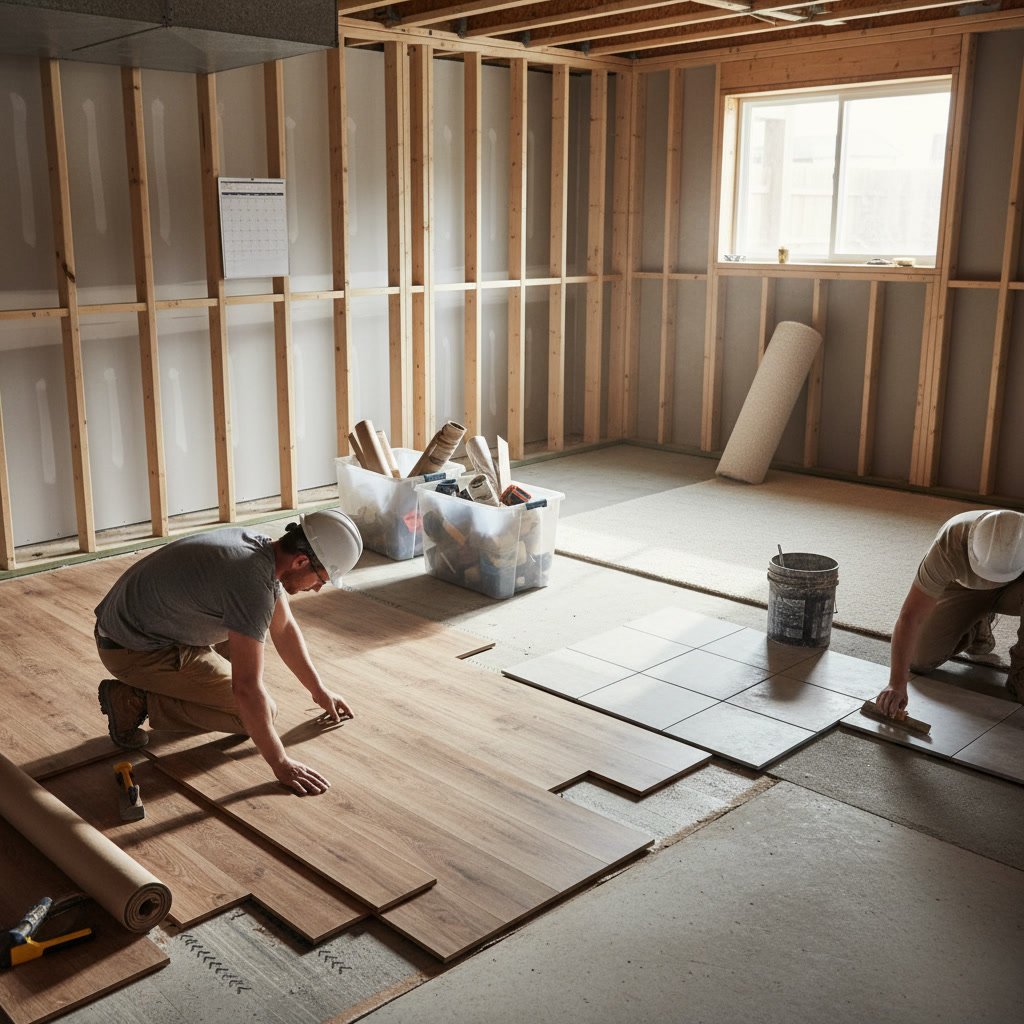
Flooring is one of the last major tasks. The type you choose affects installation timing and subfloor preparation. Luxury vinyl plank (LVP) and engineered hardwood are popular in basements because they resist moisture better than solid hardwood or carpet.
Concrete subfloors must be level and dry before flooring installation. Contractors check moisture levels with a meter and grind down high spots or apply self-leveling compound to low areas. Underlayment goes down next, providing cushion and a vapor barrier.
Carpet installation happens after all painting and trim work is complete to avoid stains and damage. Tile floors, common in basement bathrooms, require thin-set mortar and grout, plus 24 to 48 hours of curing time before use. Flooring installation timelines vary by material, but most basement projects allocate two to four days for this phase.
Fixture Installation and Final Electrical Connections
Once flooring is down, electricians return to install light fixtures, switches, outlets, and cover plates. Plumbers mount sinks, toilets, faucets, and any other fixtures specified in the plan. They test all connections for leaks and proper drainage.
HVAC technicians install registers and return air grilles, then balance the system to ensure even airflow. They adjust dampers in the main trunk line to direct the right amount of conditioned air to the new basement rooms without starving the upper floors.
This is also when specialty items like built-in speakers, smart home wiring, or under-cabinet lighting get connected. Any punch-list items from earlier phases, such as touch-up paint or minor trim adjustments, happen during this final push.
Final Inspection and Certificate of Occupancy
The final inspection is the last official step. The building inspector reviews all completed work, checking that framing, electrical, plumbing, insulation, and egress windows meet code. If everything passes, the municipality issues a certificate of occupancy, legally allowing you to use the space as living area.
Common reasons for failed inspections include missing GFCI outlets, improper venting on bathroom fans, egress windows that do not open fully, or handrails that do not meet height and spacing requirements. Experienced contractors know these code details and address them before the inspector arrives.
After the final inspection passes, your basement is ready for furniture and everyday use. The project timeline from permit to final inspection typically runs eight to 12 weeks, depending on the size, complexity, and availability of materials and subcontractors.
Getting the Most Value from Your Finished Basement
A well-executed basement finishing project delivers years of additional living space and stronger resale value. The key is planning carefully upfront, selecting durable materials suited to below-grade conditions, and working with contractors who understand local code requirements and moisture management.
If you are ready to turn your unfinished basement into a functional, comfortable part of your home, Remodel Pros LLC brings the expertise and attention to detail needed for a smooth project from start to finish. They handle permitting, inspections, and all phases of construction so you can focus on how you will use the new space.
Serving homeowners across the Denver metro area, the team is ready to discuss your project goals and walk you through each step of the process. Call 7207891999 to schedule a consultation and learn how a finished basement can work for your family.