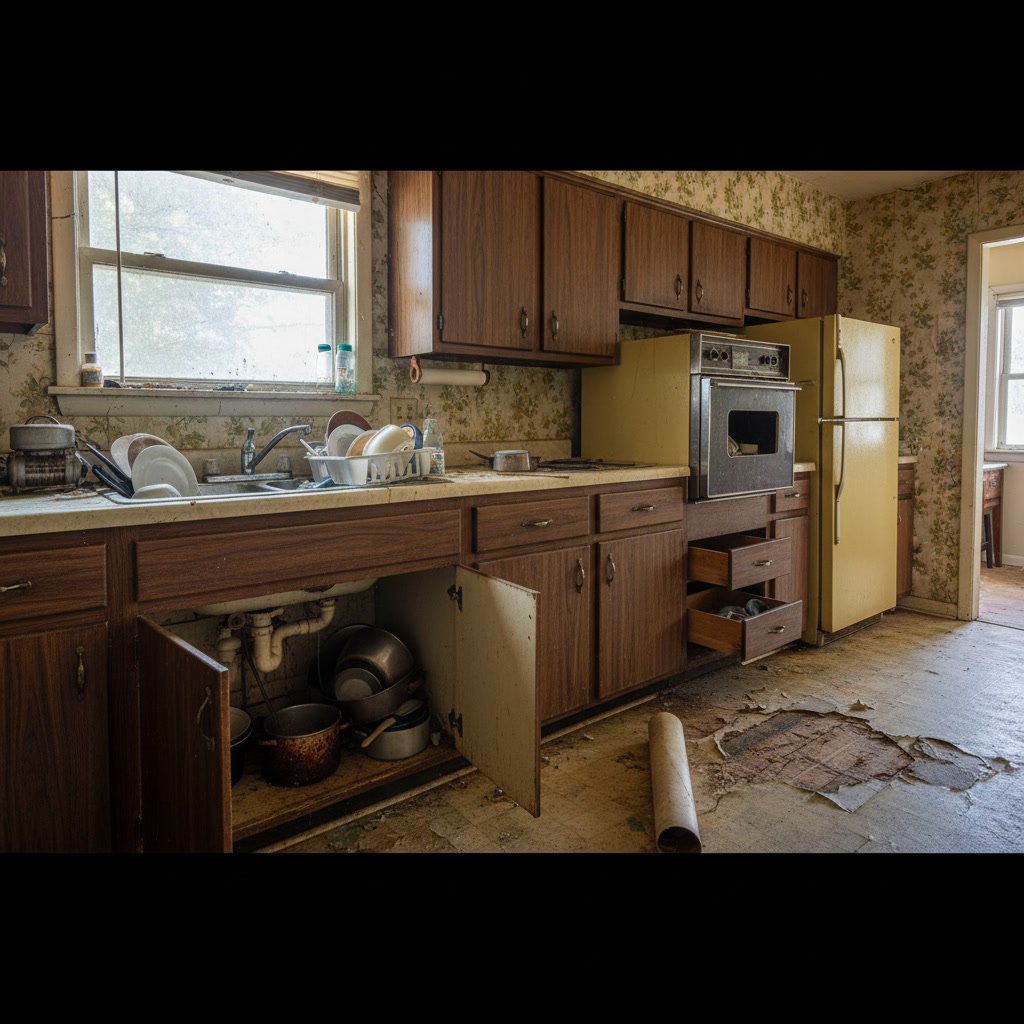

Kitchen countertop installation is a multi-step process that transforms your workspace with new surfaces built to exact measurements. The process typically includes templating your layout, fabricating the slabs to fit your kitchen, removing old countertops, and securing the new material in place. Professional installers handle everything from precise cutting and seam placement to plumbing reconnections and final sealing, ensuring your counters are ready for daily use.
Why Countertop Installation Requires Professional Expertise
Countertops are one of the heaviest and most expensive components in any kitchen. A granite slab can weigh 18 to 25 pounds per square foot, and quartz is similarly dense. Mistakes during installation can lead to cracked slabs, misaligned seams, or gaps that allow moisture penetration. Professional installers bring the right equipment, including suction lifters, laser levels, and diamond-tipped tools, to handle these materials safely and accurately.
Even minor measurement errors can render an entire slab unusable. Most natural stone and engineered materials cannot be returned once cut, making precision critical from the start. Experienced teams also understand how different materials behave under stress, heat, and moisture, and they adjust installation techniques accordingly.
How Countertop Installation Fits Into Your Kitchen Remodel Timeline
Countertop work happens toward the end of a kitchen remodeling project, after cabinets are installed and before final plumbing and electrical connections are completed. This sequencing ensures that base cabinets are level and in their permanent positions before templating occurs. If you install countertops too early, settling cabinets or flooring adjustments can create uneven surfaces or stress fractures.
The entire process from template to final install typically spans seven to 14 days, depending on material availability and fabrication schedules. Custom edge profiles, integrated sinks, and backsplash work can extend this timeline. Coordinating with other trades, such as plumbers and electricians, keeps the project moving without costly delays.

Initial Measurements and Templating
The first step in any countertop project is creating a precise template of your kitchen layout. Installers visit your home after base cabinets are secured and level. They use laser measures, physical templates made from thin plywood or cardboard, and digital scanning tools to capture every angle, curve, and cutout.
Templating accounts for sink locations, cooktop openings, faucet holes, and any custom features like built-in drainboards or cutting board inserts. The template also notes areas where seams will be necessary. Seam placement is strategic, typically positioned over dishwashers or other support structures and away from high-traffic work zones where they might be more visible.
During this visit, you finalize details like edge profiles, backsplash height, and overhang dimensions. A standard overhang is one to one and a half inches beyond the cabinet face, but bar seating areas often require 10 to 12 inches of overhang with additional support brackets.
Fabrication and Material Preparation
Once the template is approved, fabricators cut the slabs to match your kitchen’s exact dimensions. This happens in a controlled workshop environment using water-cooled diamond saws and CNC machines for complex curves and cutouts. Granite, quartz, and marble each require different cutting speeds and blade types to prevent chipping or cracking.
Edge profiles are shaped and polished during fabrication. Popular choices include eased edges, bullnose, ogee, and beveled styles. More intricate profiles add labor time and cost but can significantly enhance the finished look. Sink cutouts are made during this phase, and undermount sinks are often test-fitted to ensure a clean, secure fit.
Seams are also planned during fabrication. High-quality installers book-match slabs, aligning the natural veining or pattern across the seam to make it as invisible as possible. This attention to detail separates professional work from rushed installations.
Removing Old Countertops in Aurora Homes
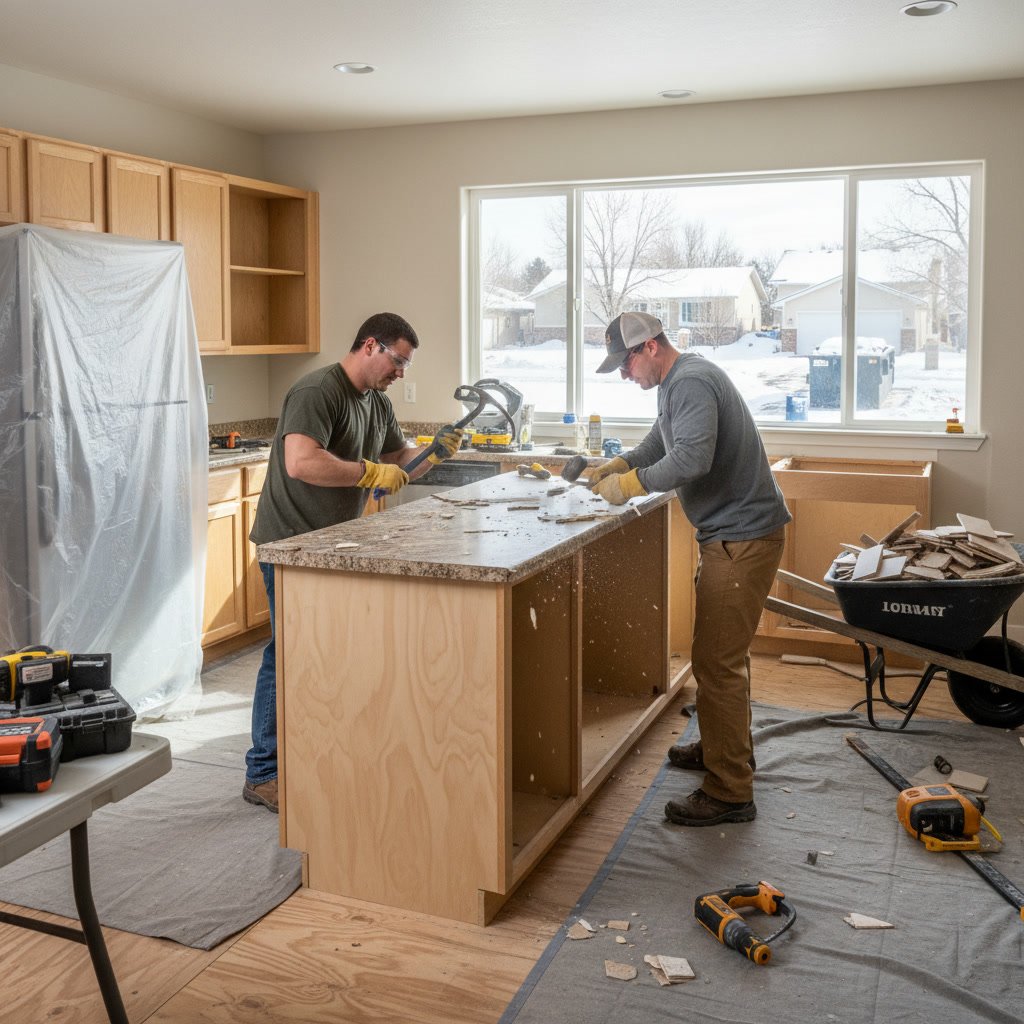
Before new counters arrive, the old surfaces must come out. Removal begins by disconnecting plumbing fixtures, including the sink and faucet. Installers then cut through any caulk or adhesive bonding the countertop to the cabinets and walls. Tile countertops require more labor, as grout and mortar must be broken up and removed carefully to avoid damaging the underlying cabinetry.
Old laminate counters are relatively easy to remove, often requiring only prying and cutting fasteners. Stone and solid-surface materials are heavier and may need to be broken into smaller sections for safe removal. Installers inspect the base cabinets during this phase, checking for level and stability. If cabinets have shifted or settled, shims are added to create a flat, even surface for the new countertop.
Disposal of old materials is typically included in professional installation services. Expect debris and dust during this phase, especially if the old counters are tile or concrete.
Delivering and Positioning the New Slabs
On installation day, fabricated slabs arrive on a specialized truck, often wrapped in protective padding. Moving and positioning heavy stone requires at least two installers and suction cup lifters. Slabs are brought into the kitchen and dry-fitted to confirm alignment, overhang, and seam placement before any adhesive is applied.
Installers check the fit against walls, appliances, and plumbing penetrations. Even minor discrepancies are corrected on-site using grinders or polishers. For kitchens with multiple slab sections, seams are aligned and tested for tightness. A well-executed seam should be nearly invisible and feel smooth to the touch.
Once the fit is confirmed, installers apply a bead of silicone adhesive to the top edges of the base cabinets. The slabs are carefully lowered into position and pressed firmly to create a bond. Clamps or weights may be used to hold sections in place while the adhesive cures.
Seam Joining and Finishing
Seams are joined using a two-part epoxy tinted to match the countertop color. Installers mix the epoxy, apply it along the seam edges, and draw the slabs together using seam-pulling clamps. Excess epoxy is wiped away before it hardens. Once cured, the seam is buffed and polished to blend seamlessly with the surrounding surface.
The quality of seam work is one of the clearest indicators of craftsmanship. Rushed or poorly matched seams can collect debris, allow moisture intrusion, and detract from the overall appearance. Professional installers take the time to align grain patterns and ensure the seam is both structurally sound and visually discreet.
Edge polishing and final touch-ups happen during this phase. Any minor chips or rough spots are smoothed, and corners are checked for sharpness and finish consistency.
Sink and Fixture Installation
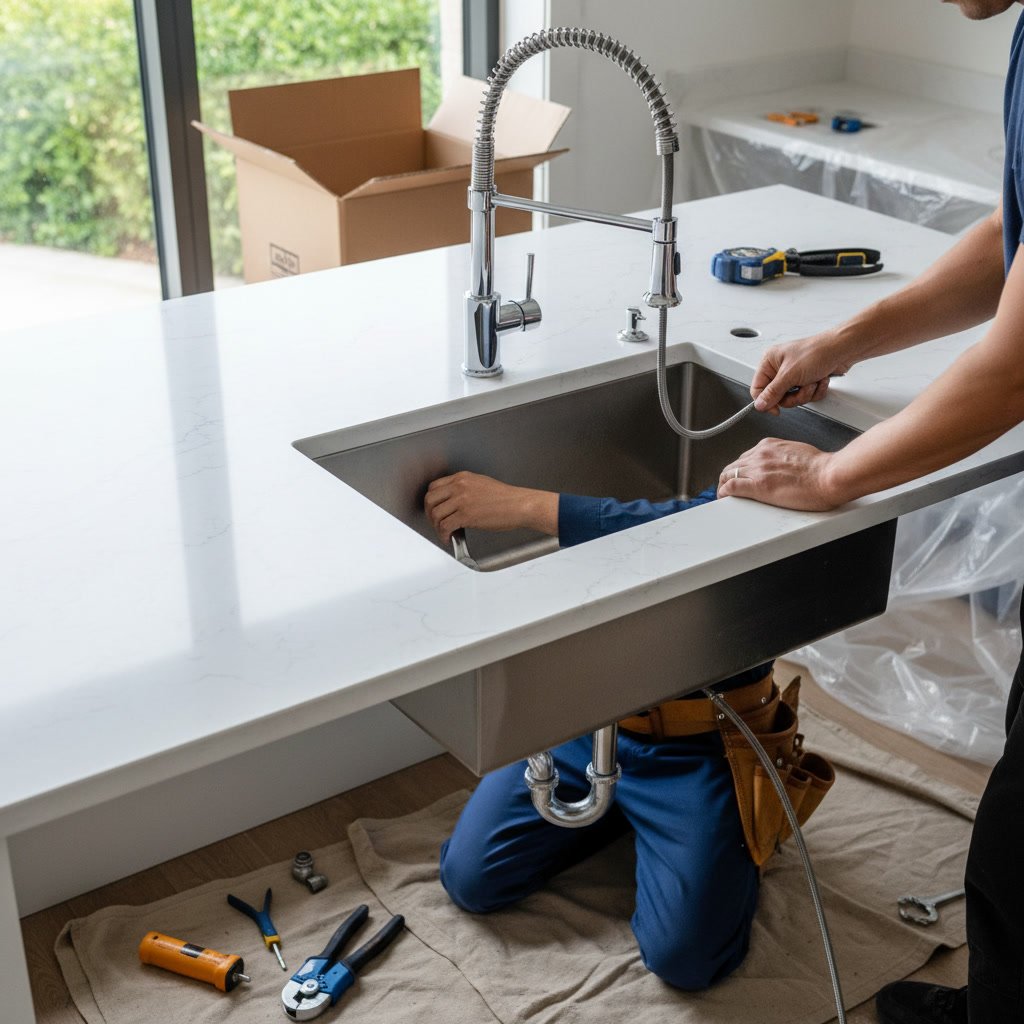
After the countertop is secured, the sink is installed. Undermount sinks are attached from below using clips and epoxy, creating a clean, seamless look that makes wiping crumbs into the sink easier. Drop-in sinks rest on top of the counter and are sealed with a bead of caulk around the rim.
Faucet holes are drilled if not done during fabrication. Installers ensure holes are positioned correctly for your specific faucet model, accounting for single-hole, three-hole, or widespread configurations. The faucet and any accessories, such as soap dispensers or filtered water taps, are then mounted and connected to supply lines.
Plumbing reconnections follow. Installers attach water supply lines, reconnect the garbage disposal if present, and test for leaks. Any adjustments to drain height or trap alignment are made to ensure smooth operation. This phase also includes reconnecting dishwashers and other appliances that tie into the sink area.
Sealing and Protecting the Surface
Natural stone countertops, including granite and marble, require sealing to resist stains and moisture. Sealers penetrate the stone’s porous surface, filling microscopic gaps that would otherwise absorb liquids. Professional installers apply sealer during installation and recommend reapplication every one to three years, depending on the stone type and usage patterns.
Quartz and solid-surface materials are non-porous and do not require sealing. However, installers still apply caulk along the backsplash and any seams where the countertop meets walls or appliances. This caulk prevents water from seeping behind the counter and damaging cabinetry or drywall.
Once sealing and caulking are complete, installers clean the entire surface, removing dust, adhesive residue, and fingerprints. They review care and maintenance instructions with you, including which cleaners are safe and which should be avoided. For example, acidic cleaners can etch marble, while abrasive pads can dull polished finishes.
Common Challenges During Installation
Even with careful planning, countertop installation can present unexpected challenges. Walls are rarely perfectly straight, and corners are seldom exactly 90 degrees. Skilled installers use scribing techniques to trace wall contours onto the countertop edge, then grind or sand the material to create a tight fit.
Appliance fit is another common issue. Ranges, cooktops, and dishwashers must slide into their designated spaces without interference from overhangs or low-hanging countertop edges. Installers verify clearances before final placement and make micro-adjustments as needed.
Older homes may have floors that are not level, which can affect cabinet alignment and countertop installation. Installers compensate by shimming cabinets or adjusting the countertop position to maintain a level cooking and prep surface. These adjustments take time but are essential for long-term performance and aesthetics.
Your Countertops Are Ready for Years of Use
A professionally installed countertop combines beauty, durability, and daily functionality. By following a careful process that includes precise templating, expert fabrication, and meticulous on-site fitting, your new surface will serve your household for decades. Proper sealing and maintenance extend the life of your investment and keep your kitchen looking fresh.
Understanding each phase of the process helps you communicate effectively with your remodeling team and set realistic expectations. Whether you are completing a full renovation or upgrading a single element, countertop installation is a cornerstone of the transformation. For more context on the broader project flow, you can explore how kitchen remodeling works from design to final walkthrough.
Remodel Pros LLC handles every detail of countertop installation as part of comprehensive kitchen upgrades throughout the Denver metro area. From custom cabinetry to final fixture placement, the team coordinates each phase to deliver results that meet your vision and budget. If you are ready to start your project or have questions about materials and timelines, reach out to Remodel Pros LLC at +17204226284 to discuss your kitchen goals and schedule a consultation.